Overview
This installation method allows you to install Power PTC on “bare metal” instead of using a virtual machine. This method takes a little bit longer to perform and requires the user to have a basic knowledge of Linux. This installation only needs to be performed if you are NOT using a virtual machine, so if you have already setup the VMWare image of Power PTC, you can skip this tutorial.
For this tutorial we will be installing Power PTC on Ubuntu server version 10.04. We will walk through the process of installing Ubuntu 10.04, Apache Tomcat, MySql and Power PTC.
Ubuntu Server Installation
The first thing you will need to do is download and burn an ISO of Ubuntu 10.04 server from Ubuntu
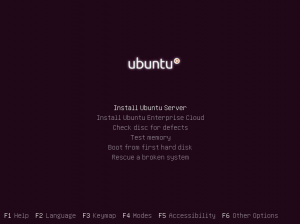
After burning the ISO file to the CD or DVD, boot off the CD drive on the computer that will be acting as your Power PTC server. You will then be presented with the screen below
Select Install Ubuntu Server.
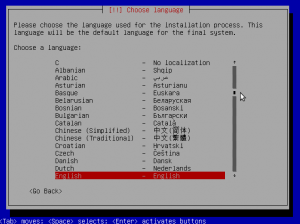
Next you will be prompted for your language settings, select the setting that applies to your installation.
Next you will be prompted for your location, select the setting that applies to your installation.
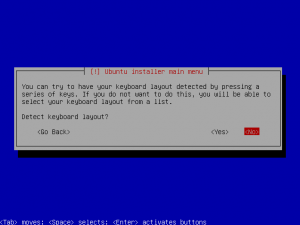
Next you will be asked if you would like to detect your keyboard, select No.
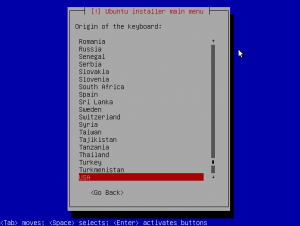
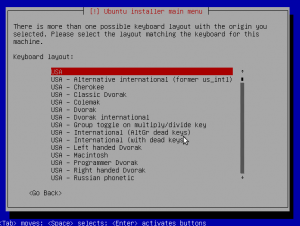
Next you will be asked for the origin of your keyboard, select USA.
Next you will be asked for your keyboard layout, select USA.
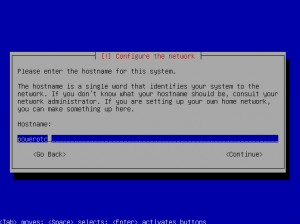
Next you will be prompted to enter a hostname for this server, enter powerptc.
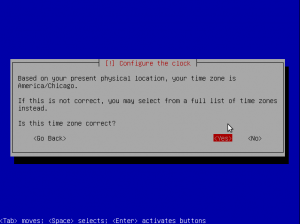
Next you will be prompted to confirm your time zone, if the detected timezone is correct select Yes, otherwise enter the correct timezone to continue.
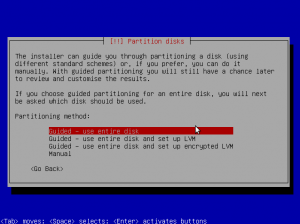
On the “Partition Disks” screen select Guided – use entire disk.
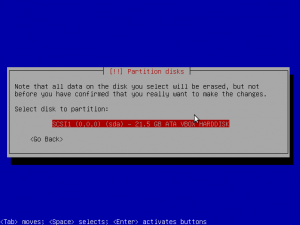
The next screen will allow you to pick which disk you would like to use for installation, select the appropriate drive to proceed.
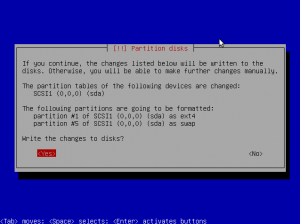
The next screen will give a summary of the new partition layout, select Yes to write the changes to the disk.
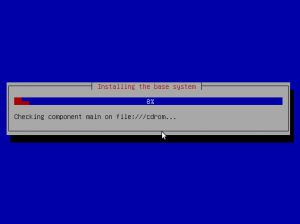
The next screen will show the progress of the initial phase of installation.
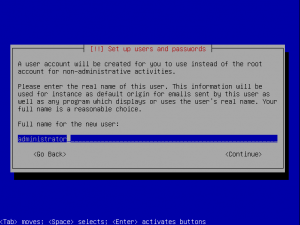
After the initial phase of installation is complete, you will be prompted for information regarding the administrative use account. First you will be prompted for the full name of the user account, enter administrator.
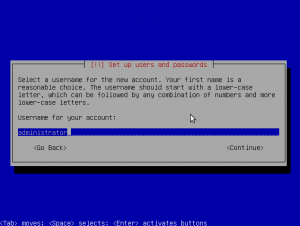
Next you will be prompted for the user name of the administrative account, enter administrator.
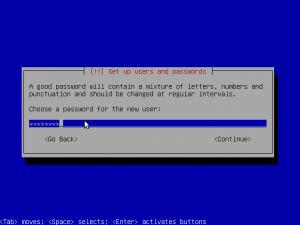
Next you will be prompted for a password for the administrative account. Enter any password you wish, on the next screen you will then be required to confirm the password.
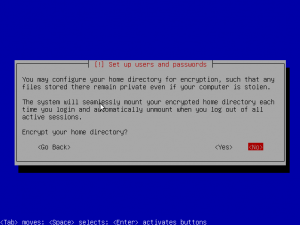
Next you will be asked if you wish to encrypt your home directory, select No.
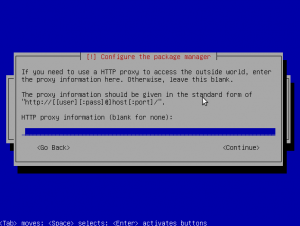
You will then be prompted for information regarding proxy settings, if you are not using a proxy press Enter, otherwise enter the information specific to your network.
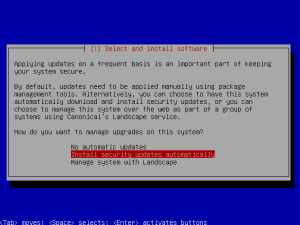
You will then be prompted to configure settings regarding system updates, we recommend using Install security updates automatically.
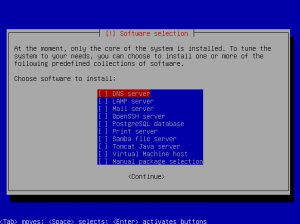
The next screen will prompt you to enter any additional software, as this point leave all options unchecked and select continue. After this installation will complete and you will be prompted to restart your system. At this point Ubuntu installation is complete.
Operating System Configuration
Network Configuration
The first thing we will need to do with our newly installed operating system is to set a static IP address. To do this we will edit the interfaces file by running:
You will be prompted for the administrative password as this point to modify this file. After entering your password, delete the contents of this file and enter the following information:
iface lo inet loopback
auto eth0
iface eth0 inet static
address [your.static.ip]
netmask [your.net.mask]
network [your.network]
broadcast [your.broadcast.addy]
gateway [your.gateway]
An example of this configuration could be:
iface lo inet loopback
auto eth0
iface eth0 inet static
address 192.168.1.100
netmask 255.255.255.0
network 192.168.1.0
broadcast 192.168.1.255
gateway 192.168.1.1
Next we will configure a DNS server address by typing:
Replace the contents of this file with the following:
search somedomain.com
The line starting with search defines the DNS suffix for name based queries, this line is optional.
At this point our network configuration should be complete, we will now restart our network interfaces with the following command:
Confirm that your network settings are correct by running the command:
Before proceeding to setup Power PTC, we will update the operating system. This can be done with the following commands:
sudo apt-get upgrade
Finally you will want to restart your server to complete the update process with the following command:
Software Installation
Before we start installing some required software, we need to enable installation from the “partner” repository, this will allow us to install the Java developer kit from Oracle. To do this perform the following steps:
sudo nano /etc/apt/sources.list
In this file we will want to change the lines
# deb-src http://archive.canonical.com/ubuntu lucid partner
to
deb-src http://archive.canonical.com/ubuntu lucid partner
Now we are ready to start installing some of the software that Power PTC requires. The following commands will install the Java compiler, MySql server, and Tomcat application server.
sudo apt-get install mysql-server mysql-client wget sun-java6-jdk
During the installation process you will be prompted to set a password for Mysql’s “root” user account, for ease of configuration, we recommend leaving the password blank. If you set a password, you will have to modify a configuration file included as part of Power PTC to allow it to connect to the database server.
Next we need to tell the server to use the Sun/Oracle version of the Java SDK instead of the GNU alternative. To do this, run the following command:
MySql Database Configuration
Power PTC needs a database to store information. By default will look for a database called powerptc. To create a database for Power PTC, execute the following commands:
create database powerptc;
exit;
Tomcat Application Server Installation and Configuration
The first thing we need to do is to download and install Tomcat 6. At the time of writing the most recent version of Tomcat 6 was 6.0.33, please use the latest version of Tomcat 6. In this example we will use 6.0.33.
sudo wget http://apache.mirrors.tds.net/tomcat/tomcat-6/v6.0.33/bin/apache-tomcat-6.0.33.tar.gz
sudo tar xvzf apache-tomcat-6.0.33.tar.gz
sudo ln -s /opt/apache-tomcat-6.0.33 /opt/tomcat
sudo useradd tomcat
sudo chown -R tomcat:tomcat apache-tomcat-6.0.33
sudo su tomcat
cd /opt/tomcat/bin/
wget http://cwssoft.com/downloads/other/setenv.sh
chmod 755 setenv.sh
exit
cd /etc/init.d/
sudo wget http://cwssoft.com/downloads/other/tomcat
sudo chmod 755 tomcat
sudo ln -s /etc/init.d/tomcat /etc/rc1.d/K99tomcat
sudo ln -s /etc/init.d/tomcat /etc/rc2.d/S99tomcat
sudo ln -s /etc/init.d/tomcat /etc/rc3.d/S99tomcat
sudo ln -s /etc/init.d/tomcat /etc/rc4.d/S99tomcat
sudo ln -s /etc/init.d/tomcat /etc/rc5.d/S99tomcat
sudo /etc/init.d/tomcat start
Now we need to create a user name and password to access the tomcat application management interface. To do this, we need to run the following command:
Directly below the line <tomcat-users> add the following lines:
<user username=”admin” password=”s3cret” roles=”manager”/>
Replace the username and password with anything you like.
Now we need to create a directory that will keep the log files for Power PTC.
sudo chown -R tomcat /var/log/powerptc
sudo /etc/init.d/tomcat stop
sleep 15
sudo /etc/init.d/tomcat start
Power PTC Installation
Installation of Power PTC should be done on a remote client computer. To get started first download the War File version of Power PTC. You will then need to extract the files using an archive utility that can read and extract *.tar.gz files.
You will then need to open a web browser and launch the tomcat administrative interface by navigate to:
Replace X.X.X.X with the IP address or hostname of your Power PTC server. You will be prompted to enter the user name and password that we set in the tomcat-users file.
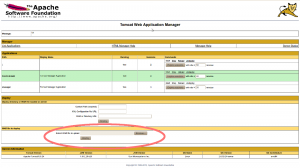
Now we are ready to install Power PTC. In the tomcat manager, find the section WAR file to deploy and click on the Browse and select the PowerPTC.war. Finally click Deploy to install Power PTC on the server. After the file is upload and installed, navigate to the following URL to confirm that Power PTC was successfully installed:

